Tuesday, December 21, 2010

Indulge: Jammy Star Biscuits

Christmas certainly is the time to indulge in yummy treats, and what better to get yourself in the festive mood than cooking up some Christmassy delights. I love these kind of jam biscuits so I made them today with a Christmassy edge, normally there would just be a round circle cut out, but I used a star this time :)


The recipe for these yummy biscuits is from the BBC Good Food Website:

Ingredients:

225g unsalted butter , softened
150g caster sugar
1 tsp vanilla extract
3 egg yolks , beaten
250g plain flour
110g ground almonds
raspberry (or apricot) jam, for spreading
icing sugar , to dust

Method:

1.Beat the butter and caster sugar together until pale and fluffy. Add the vanilla and egg yolks and mix thoroughly. Gradually add the flour and ground almonds. Lightly knead the mixture until it comes together in a ball. Wrap and chill for 1 hour.

2.Heat the oven to 170C/fan 150C/gas 5. Roll the dough out to the thickness of a £1 coin on a lightly floured surface and stamp out biscuits using a 6-7cm cutter. Reshape leftover dough into a ball, re-roll and cut out more biscuits. Stamp out a smaller circle from the middles of half the biscuits.

3.Put the biscuits on lined baking sheets and bake for 12-15 minutes or until golden. You may need to do these in batches. Rest for a minute then transfer to a cooling rack. When completely cold, spread the whole biscuits with either jam. Dust the ring-shaped biscuits with icing sugar. Put a sugar-dusted ring on top of a jam-covered biscuit and press lightly together.


Unfortunately (as so happens when you're trying to cook whilst also look after a 6 month old!), I made a mistake and didn't cut out enough stars, so I was left with more of the full circles than I needed. I decided to stick two of them together with jam anyway and I dusted them with icing sugar using a plastic template. So they worked out ok for a mistake!


I also had lots of left over little stars from the cut outs, so I put a dob of jam on them as well as some dusted icing sugar. You could always just roll the uncooked stars up and make more biscuits but I liked the idea of having some different shapes.


Merry Christmas Everyone, make sure you indulge!

Wednesday, December 15, 2010

My Creative Space

I've been working on some new items this week. First some simple woodcut brooches and secondly some cabochon earrings, rings and hairclips. Whilst pondering over my creative space today, I found it quite interesting to reflect on when I started Petaliferous and how I seem to be forever changing the way I do things and constantly growing and improving my techniques and designs etc. It actually makes me think in horror at some of the things I created when I first started out, and how simple they were! (but without them I wouldnt be doing what I'm doing today, so they were all necessary - mistakes or not!). I guess it highlights the beauty of handmade. Each item reflects the artisans skills at that time, at that place... like a little time capsule really :)

Heres the brooch backs drying on the timber cut brooches. Sadly these are a limited edition and therefore I have very limited quantities.


And here's some new cabochons ready for the cooker :) My mum has requested a pair of turquoise rose filigree leaf earrings and she's been waiting a while, so it was time to get them done! Sorry Mum!

I'm hoping to have a Market stall somewhere in Melbourne next year to sell all these pretties at. Any suggestions where you think my stuff would be a good fit?

Wednesday, December 1, 2010

Secret Santa, The DUSTy kind

I recently signed up for a Secret Santa (kris kringle) within the DUST group, and sent my gift off to my secret recipient earlier in the week, hopefully they recieve it soon so I can share with you what I sent!

Today, however, I recieved a gorgeous little parcel in the mail from my secret santa! It was so unexpected, and so lovely. It came from May, from MayBrady and I absolutely love it.. here's what I was very lucky to recieve (thank you May!)

Beautifully Giftwrapped...

A bundle of gorgeous handmade cards and gifttags...

featuring cool retro art prints...

and in her signature style, a vintage scarf headband ;)

Thanks May!

Sunday, November 28, 2010

Necklace Revolution

Finally I've been able to find some time to get back into jewellery making! And my long awaited new necklace designs up and into action...

You may remember in the last post I showed you a sneak peak of some things I'd been making...


Well, FINALLY they are now complete.. and have been turned into these funky necklaces ...


I'll pop them up on my madeit store in the next couple of days. I just don't know what to call the new designs, so if you have any ideas, please let me know :)


Wednesday, November 3, 2010

Hmm.. it's been a while

Yes, yes. I have neglected my poor little blog. It's been a while since my last post :( Now that I have two blogs (the other one being willow and elm) and trying to get that one going, some inadvertant neglect was bound to happen!

The exciting news is however, that even though I've been an absentee blogger, I've been working on some new designs for necklaces and earrings. I've started making a prototype (which I'll inevitably keep myself no doubt!) and am really excited about getting that finished and some more made (assuming it all works how I plan!). Gotta get myself off to buy some supplies though, and with my new little boy - a trip to the jewellery supply store is a little more difficult than it once was. So that is what is holding me up at the moment.

Anyway here's a sneak peak ... but you really won't know the full extent until it's a finished product :)


Stay tuned!

- B

Wednesday, October 6, 2010

Spring has Sprung

Finally my new range of spring items is getting there.... it's been hard putting together a new range and looking after my 4 month old at the same time! However the last few days I made some progress. I look forward to popping them up on etsy in the coming weeks. Here is a sneak preview of some of the items... They're all handmade out of polymer clay and will eventually be available in a myriad of colors :)


Oh yeh and you've probably noticed the change in my blog (its a pretty big change!). I opted for a new layout and color scheme and designed the pretty pink background. Knowing me though, I'll probably get sick of it again in a little while!

Monday, October 4, 2010

Another day, another blog...

A few of you may know i have another etsy/madeit store.. not for jewellery like this one but for digital invitations. Well I've taken it one step further today - and started another blog. Its looking a little lack lustre in terms of followers at the moment so it'd be awesome if you could head on over and help remedy that!!


Friday, September 24, 2010

Friday Finds

I felt the need for a bit of 'screen shopping' .. (the internet version of window shopping) .. so I logged onto http://www.madeit.com.au/ and found some very cool things that have been added to my evergrowing wish list :)

Moose Zip Pouch by bluegingerdesigns - http://www.madeit.com.au/detail.asp?id=142259


Field Ring by Stephanie Winther - http://www.madeit.com.au/detail.asp?id=129583


Foxy Rattle and Teether by chunkychooky - http://www.madeit.com.au/detail.asp?id=123939


Funky Tree Shoulder bag with free wallet by Eklecticmix - http://www.madeit.com.au/detail.asp?id=132826


Alainn freshwater pearl stacking rings by Alainn - http://www.madeit.com.au/detail.asp?id=137690

I was also pleasantly surprised to find that not only does madeit have some great sellers and handmade items for sale, but now they have released a sister site, http://www.craftumi.com.au/ which is all about supplies!

Here are some cool finds from craftumi...

"Mod Girls" Jennifer Paganelli Sis Boom Fat Quarter (Pink) by Georgielovesfabric - http://craftumi.com.au/detail.asp?id=3664


24 Half Inch Round Wooden Buttons by heartsupplies - http://craftumi.com.au/detail.asp?id=3680


Crochet Scrapbooking and Applique Flowers Pink- 3 pieces by Boutiqueflowercreations - http://craftumi.com.au/detail.asp?id=4

Tuesday, September 21, 2010

Spring Overhaul

Spring has sprung and I'm loving all the flowers and blooms that are coming out in my garden. I've gone a bit crazy photographing them lately so I thought I'd share a few with you.


I've also decided to do a spring clean of my etsy and madeit stores, products and banner/style. I've been working on some new vintage inspired necklaces that I am really excited to share with you soon. For now though, heres my new banner...


What do you think? I used some vintage photography titling letters that my grandfather used to use on his family movies (therefore they're very special!) I'm not 100% sold on the wooden background yet but I figured I can adopt the same look using the letters and various different backgrounds every now and then (a bit like how google is always changing its logo but it remains, in essence, the same!).

And also a sneak peak at something to do with my new range.... pretty, huh?


By the way I've cleaned out my etsy store completely to await the launch of new products so it's kind of empty in there at the moment... stay tuned :)

♥ B

Thursday, September 9, 2010

Delightful DUSTy Craft Swap

I'm so thrilled with my second DUST craft swap, I really enjoyed it. I was paired with the lovely Olga from Ellies Pretty Things. Olga said she liked my bird themed jewellery and her favourite color was green... so this is what I came up with for her:

And in return, this is the beautiful parcel I recieved from her - a pale green organza flower headband, pair of flower hairslides and jumbo button hair tie - all gorgeous and all very very useful! (they went in my hair as soon as I got them!)


Make sure you check out Olga's store too! http://www.elliesprettythings.etsy.com/ :)

Thursday, September 2, 2010

Fathers Day

Fathers day means a bit more this year as it is the first one my husband is celebrating! (Unfortuantely I missed out by a few weeks for Mothers Day this year - bub wasn't quite born yet!). But seeing as my son is not quite old enough to go shopping on his own... its up to me to sort out the pressie for the new dad :)

So. I thought I'd get a hand from bubs to make a cute framed foot print and photo to commemorate this first fathers day!


First, footprint from bubs. CHECK
Second, cute photo of dad and bubs. CHECK
Third, a double frame. CHECK
Fourth, some letter stickers. CHECK.
and Finally... The finished product :)


Simple but really effective I think, I hope 'daddy' likes it! Here are some other cute finds for fathers on etsy...

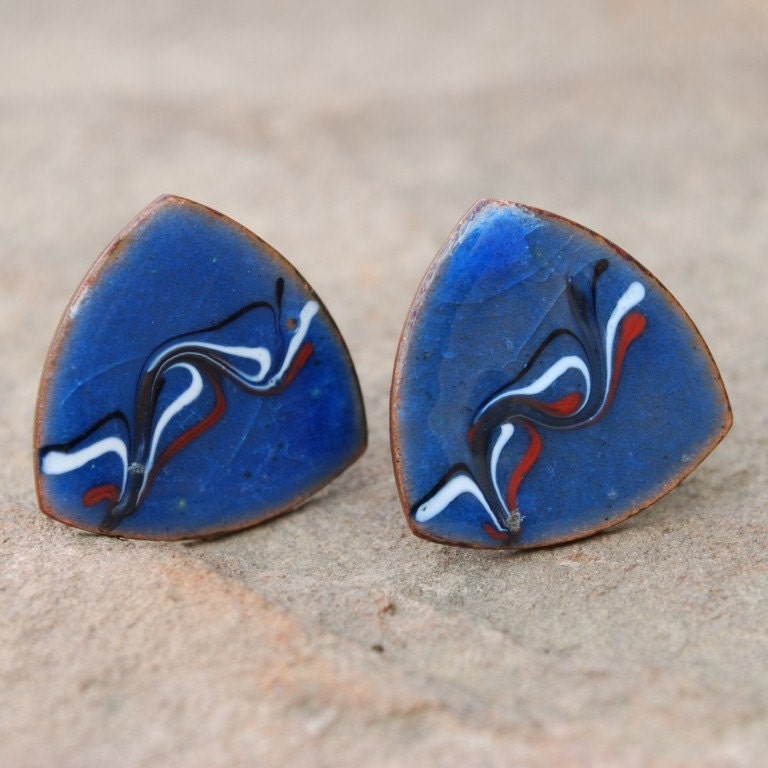
Vintage Blue Copper Enamel cufflinks by petaliferous


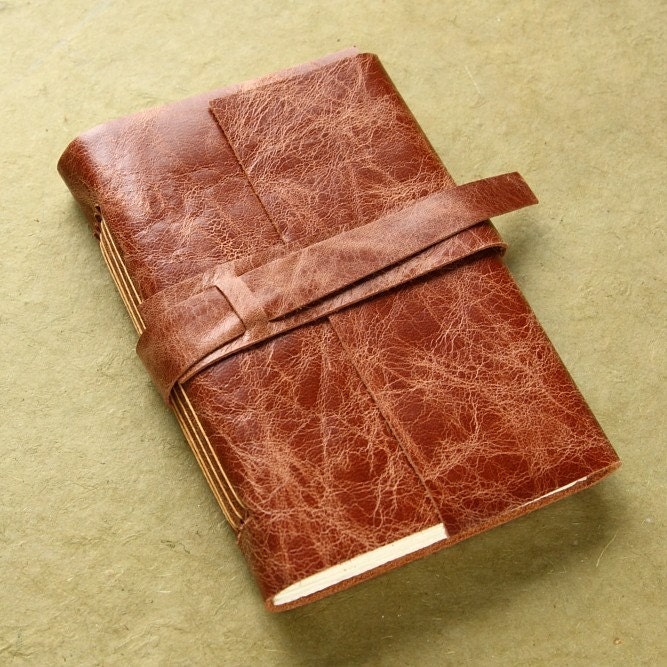
Reddish Brown Journal by KarleighJae


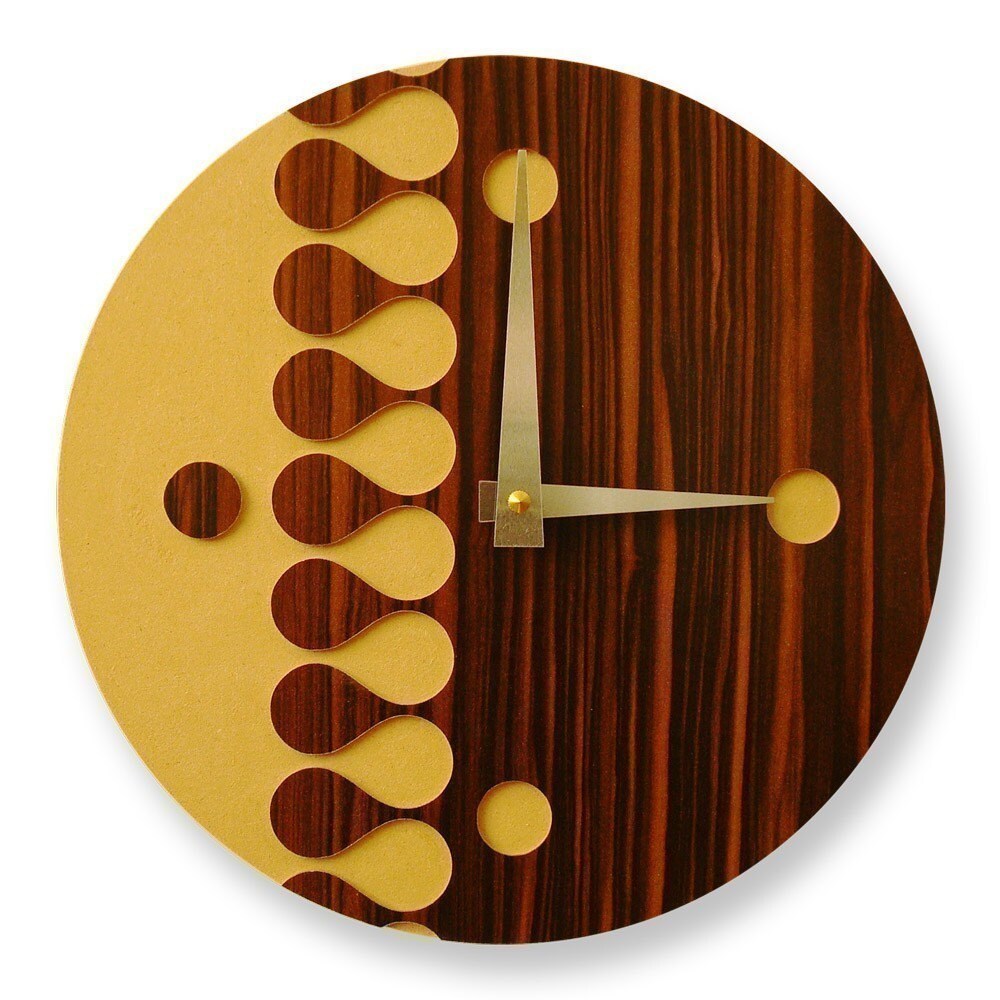
Big Drip Modern Wall Clock by pilotdesign

Tuesday, August 17, 2010

Thursday, August 5, 2010

Tiny Treasures

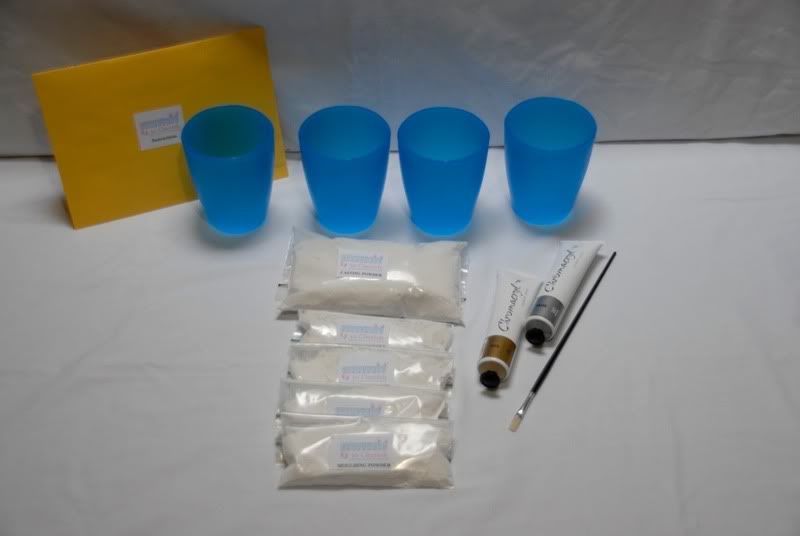
I'm sure you've all seen the cool 3D plaster impressions you can get done of your child's tiny hands and feet to keep forever. I think are really cute, especially so when you look back and realise how little they once were.  Well, I wanted to capture my baby's hands and feet before he gets too big, and not wanting to spend a fortune, I decided to try and do it myself. I got a DIY kit from Keepsakes to Cherish which came with the moulding powder, casting powder and 4 cups to mould in, enough to make 4 impressions and 1 spare.
I was a tad nervous about doing it, knowing it could go completely pear shaped so when I eventually got around to finding a time when bubs was content enough to make the moulds, I gritted my teeth and hoped for the best! Thankfully I was able to do two hands and two feet, however, it certainly wasn't without dramas! Lets just say its hard to get a 4 week old baby to completely cooperate.. and baby hands didn't like being shoved into cold water. I had moulding paste going everywhere.. and bubs was crying. BUT.. I got it done.

The photos above show my finished hand moulds, which I made by popping bub's hands into the moulding mixture until it set (around a minute).  The moulding mixture looked like a strawberry milkshake!! I then mixed up some casting powder with water and poured it into the moulds to set (overnight). The next day I peeled back the rubbery mould to reveal two little hands and two little feet!

Given its a DIY job, I wasn't expecting it to be 100% perfect, so there were a few rough areas and imperfections, which I should be able to sand back a bit. I'll then paint them silver and find a deep-set frame to pop them in for the nursery wall :) If and when I get around to that, I'll update you all with the finished product!

If you want to make moulds of your own children's hands and feet, you can get your own kit from Keepsakes to Cherish like the one below!
photo courtesy of keepsakes to cherish

Photo courtesy of body-cast studio